
How I Turned a Single Trend Insight Into My SS26 Collection Using Weaver AI
From trend forecast to finished mockup in one smooth loop. How I used Weaver AI to transform a small-scale leopard spot trend into a complete SS26 collection piece.
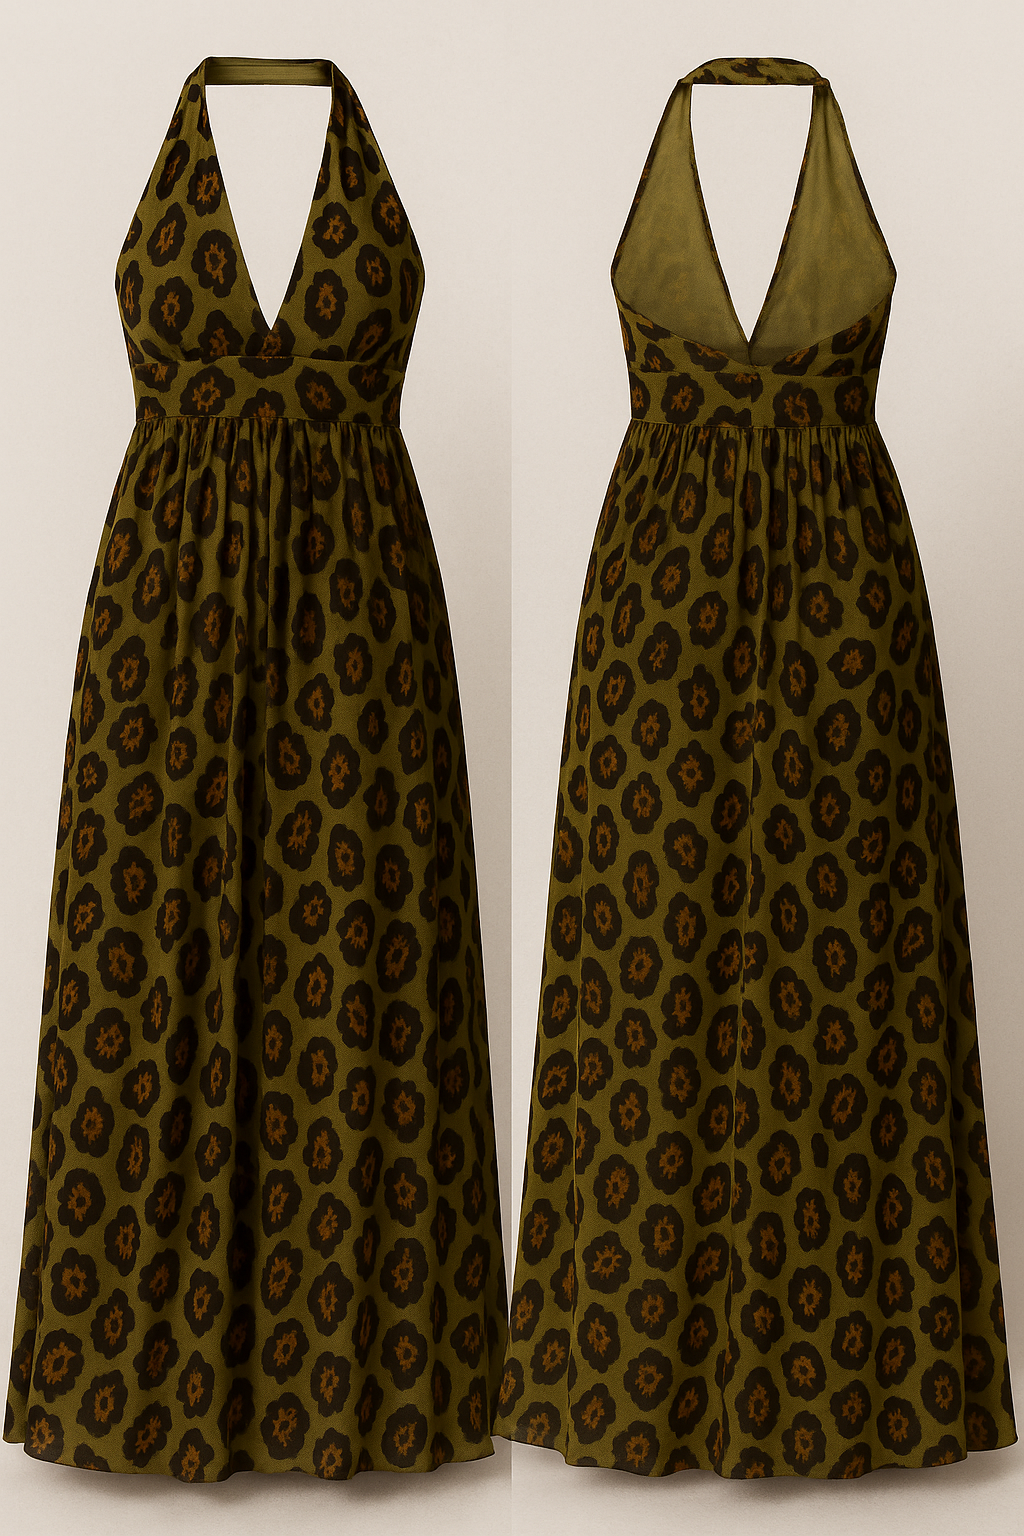
The Result: A fluid halter dress in georgette with small-scale leopard spots in fresh seasonal colorways — ready for my SS26 collection.
 |  |
 |  | 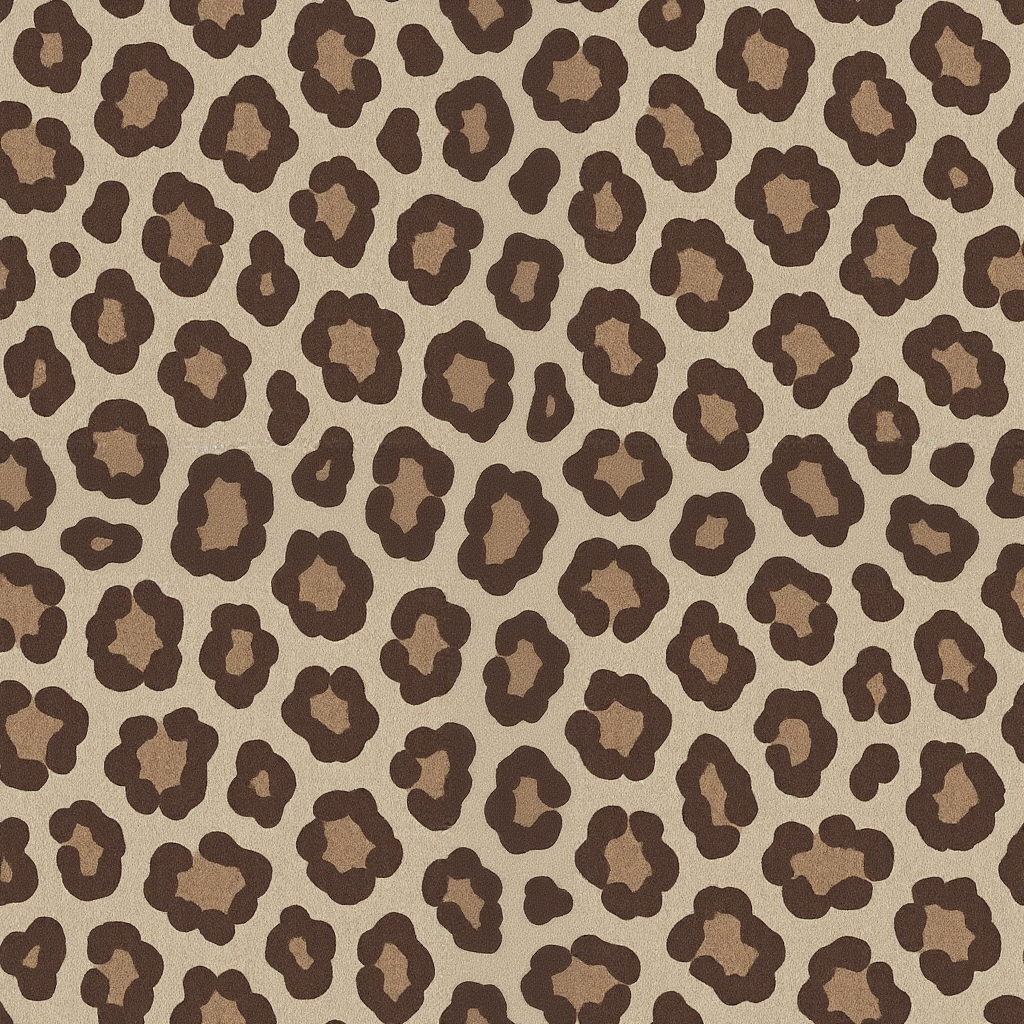 |  |
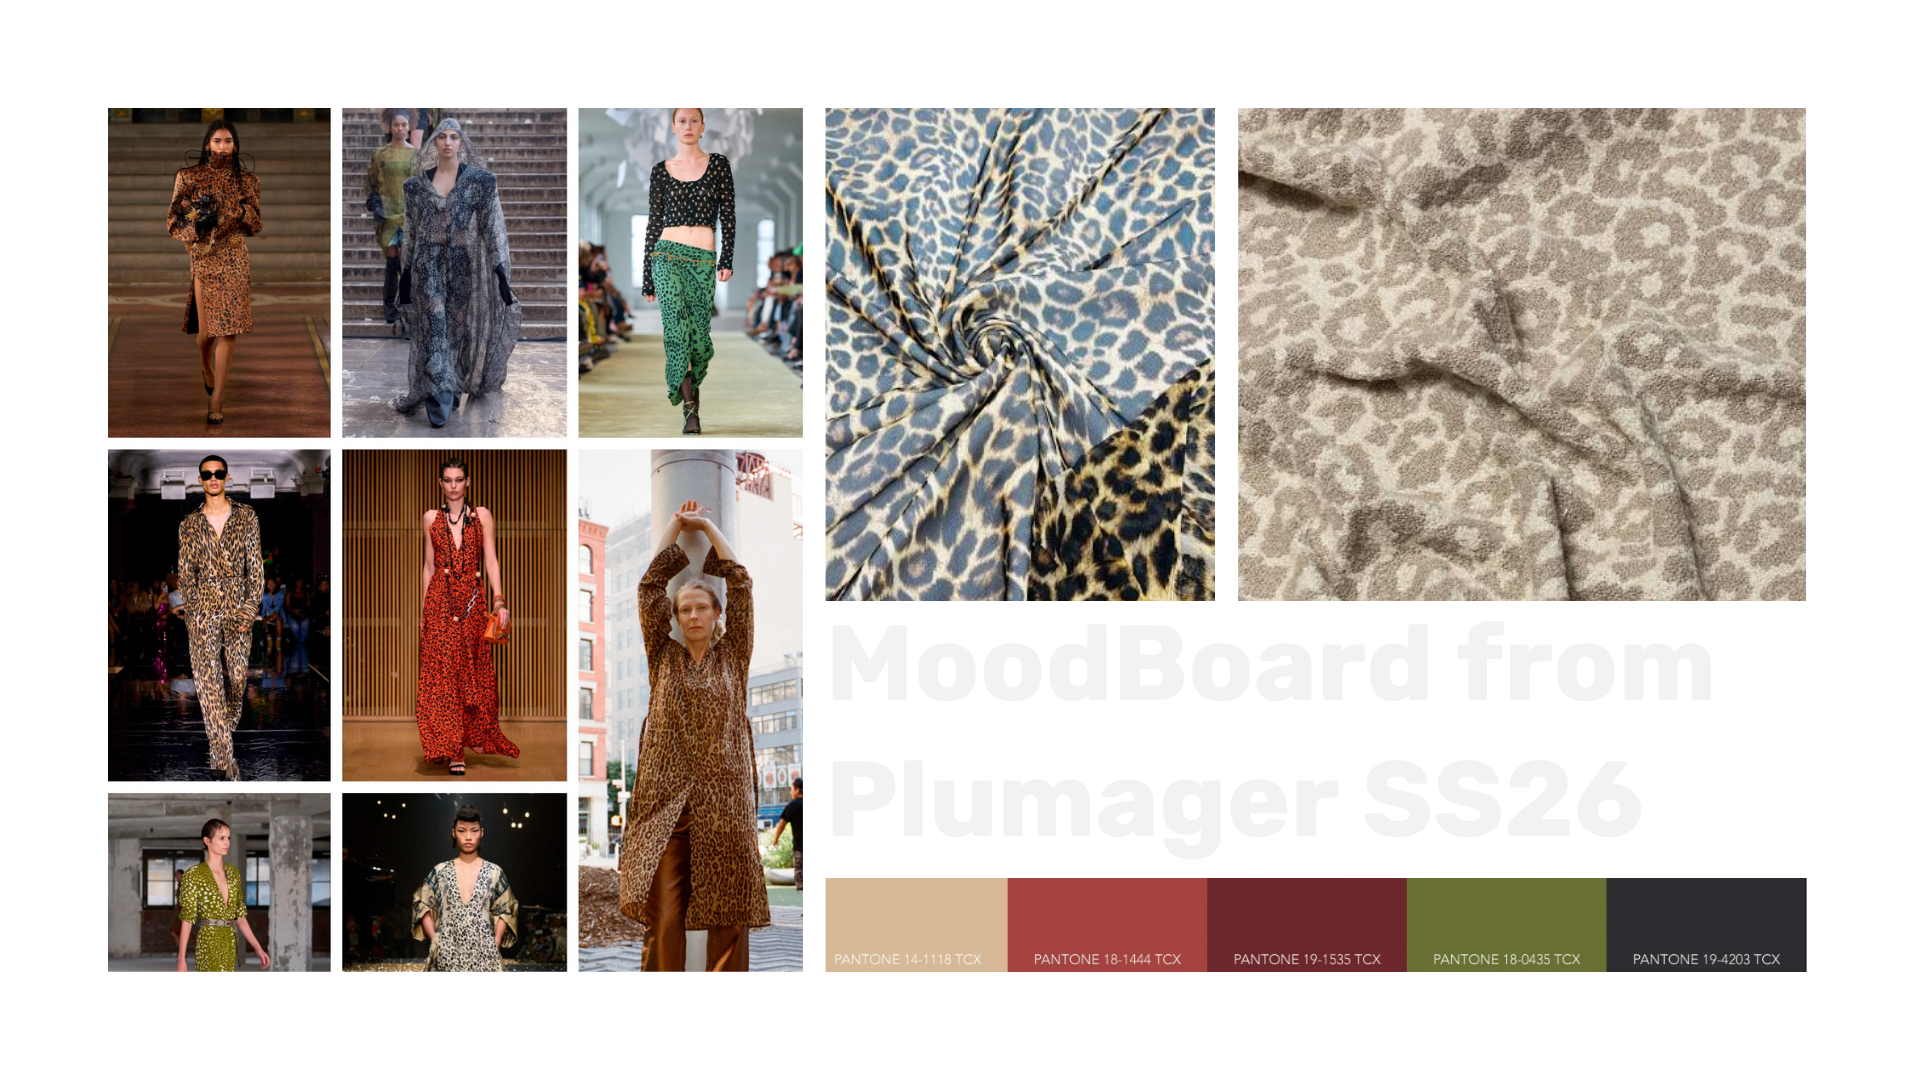
Spotted something in the trend forecast — and turned it into a full look using Weaver AI. While going through the Spring/Summer '26 print forecast by Plumager, one micro-trend caught my eye — small-scale leopard-inspired spots, reworked in fresh, seasonal colorways. That was the spark.
Here's how the full design came together — from reference to garment — using Weaver AI:
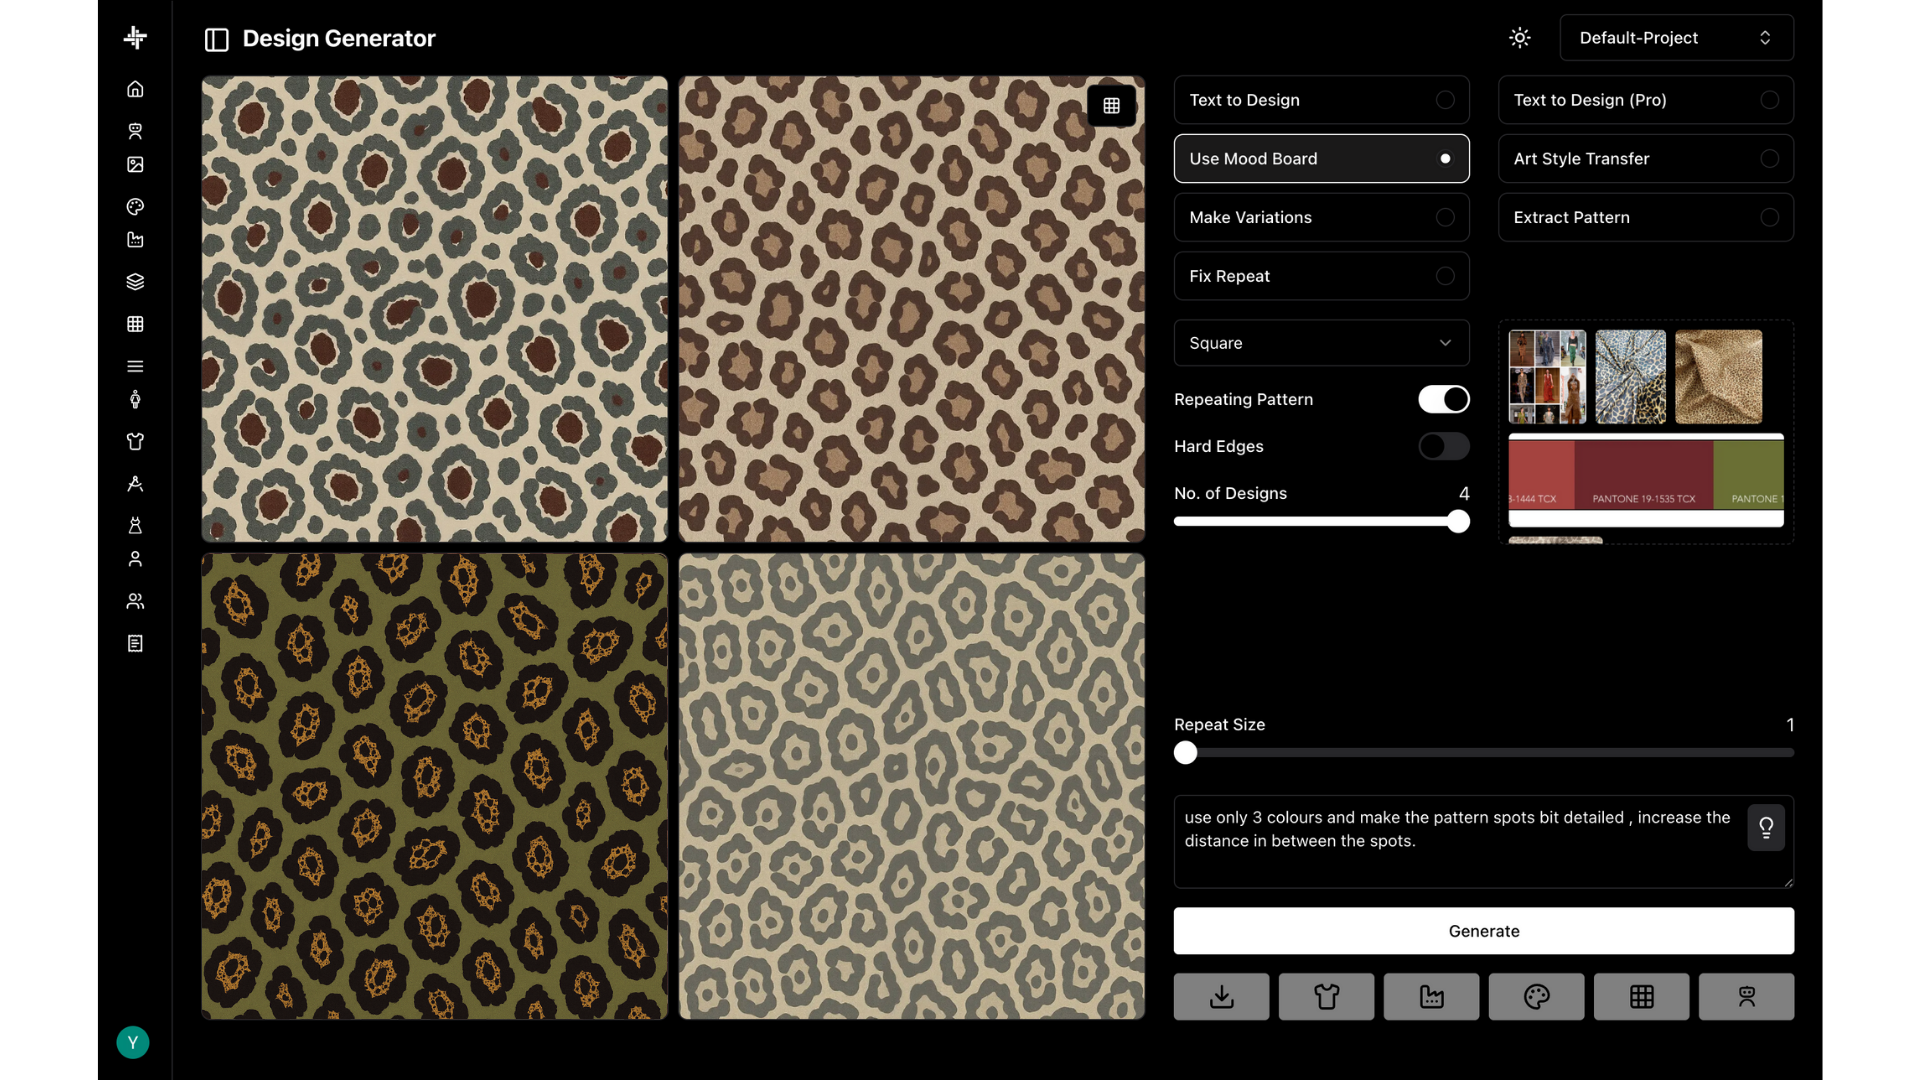
Step 1 — Starting from Trend
I took the references, color palette, and visual vibe from the Plumager SS26 forecast and uploaded them to the Moodboard section inside Weaver AI.
Moodboard Collection:
- Plumager forecast references
- Seasonal color palette
- Fabric type
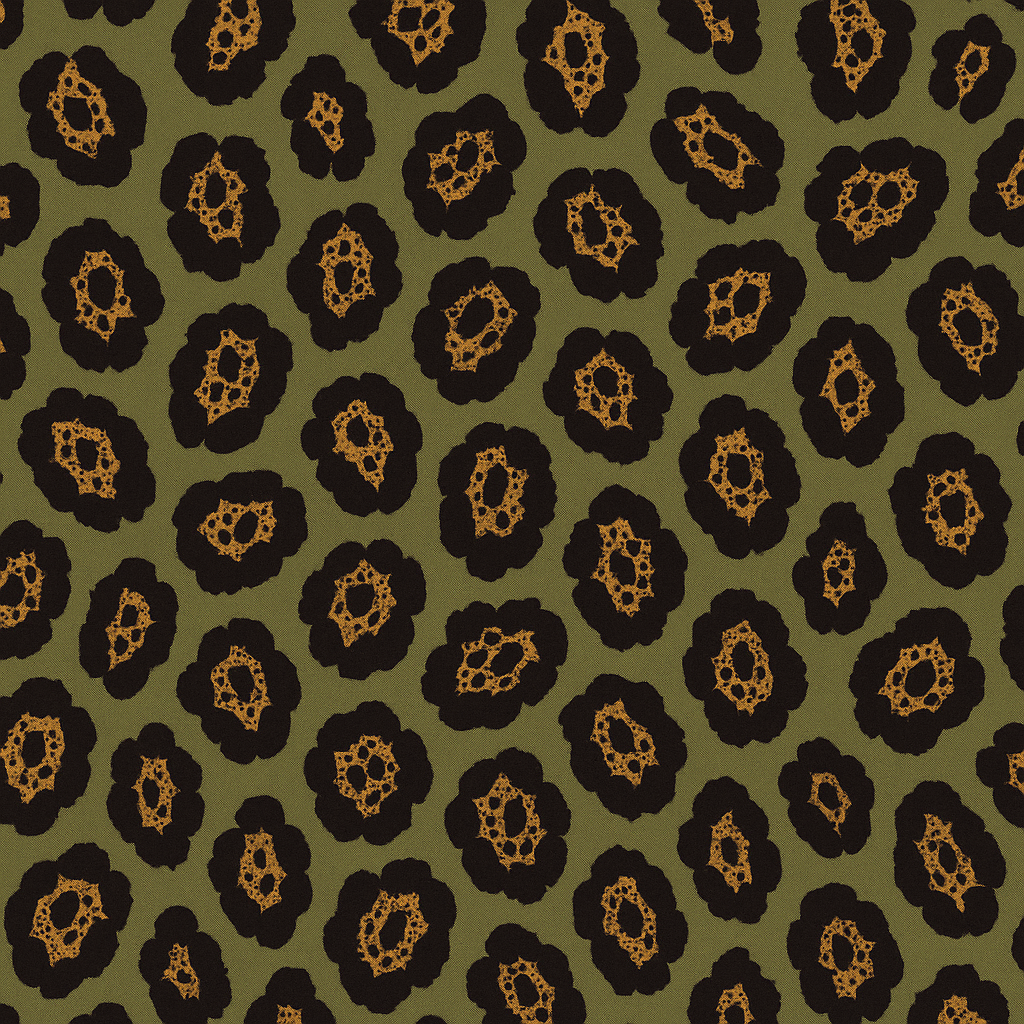
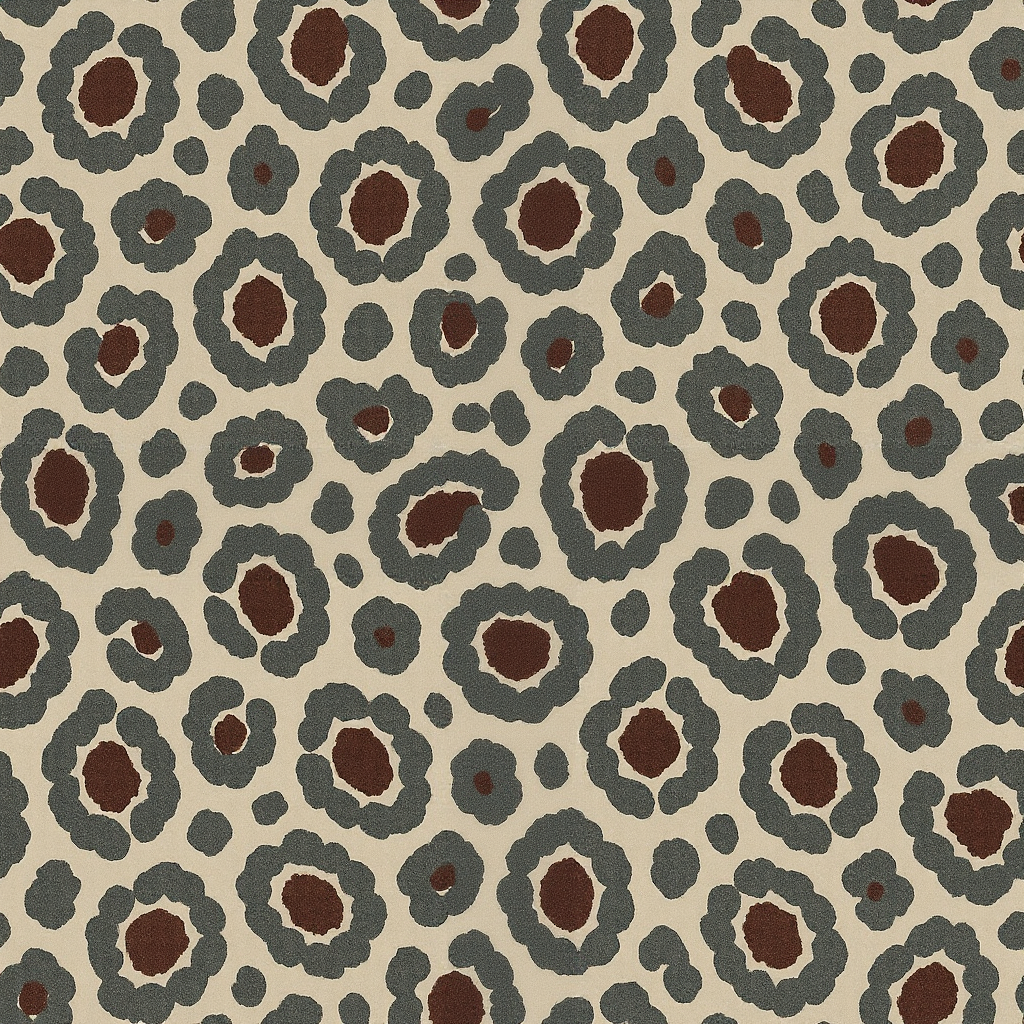
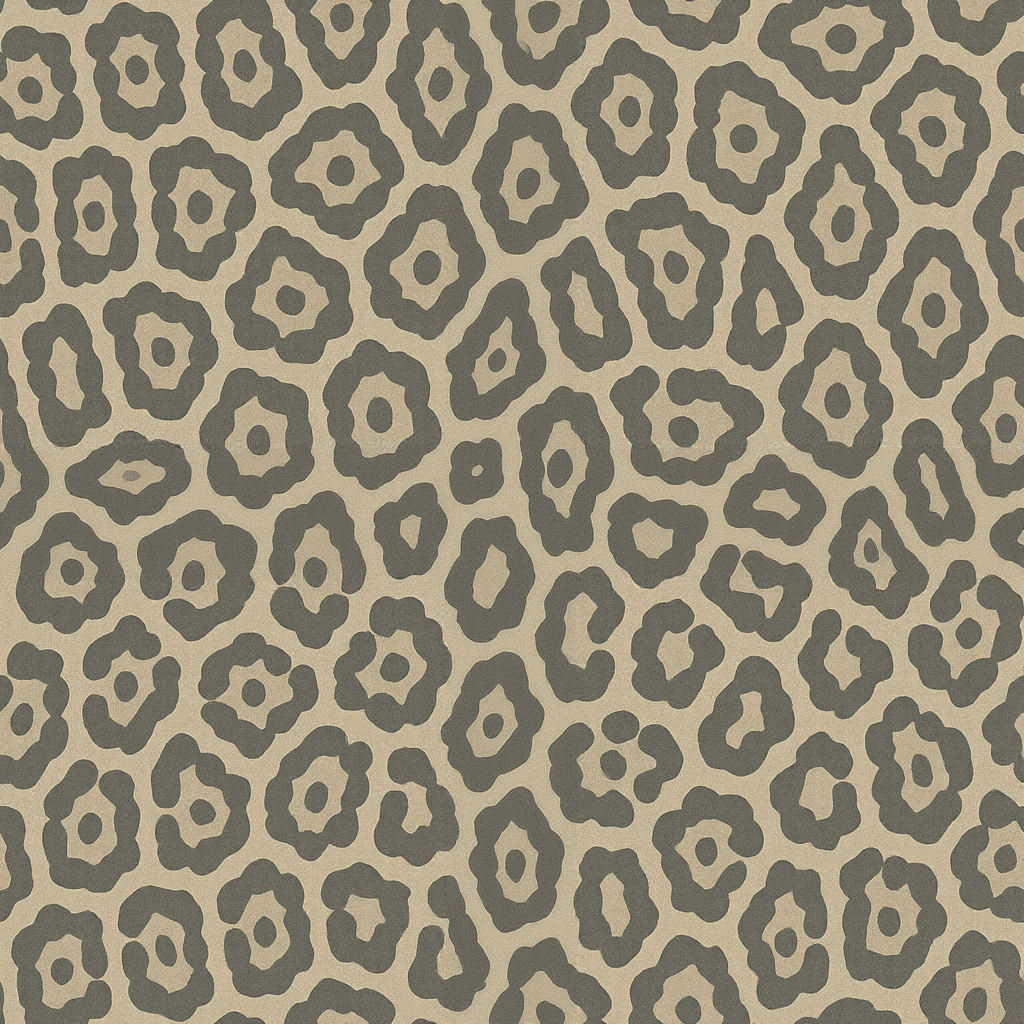
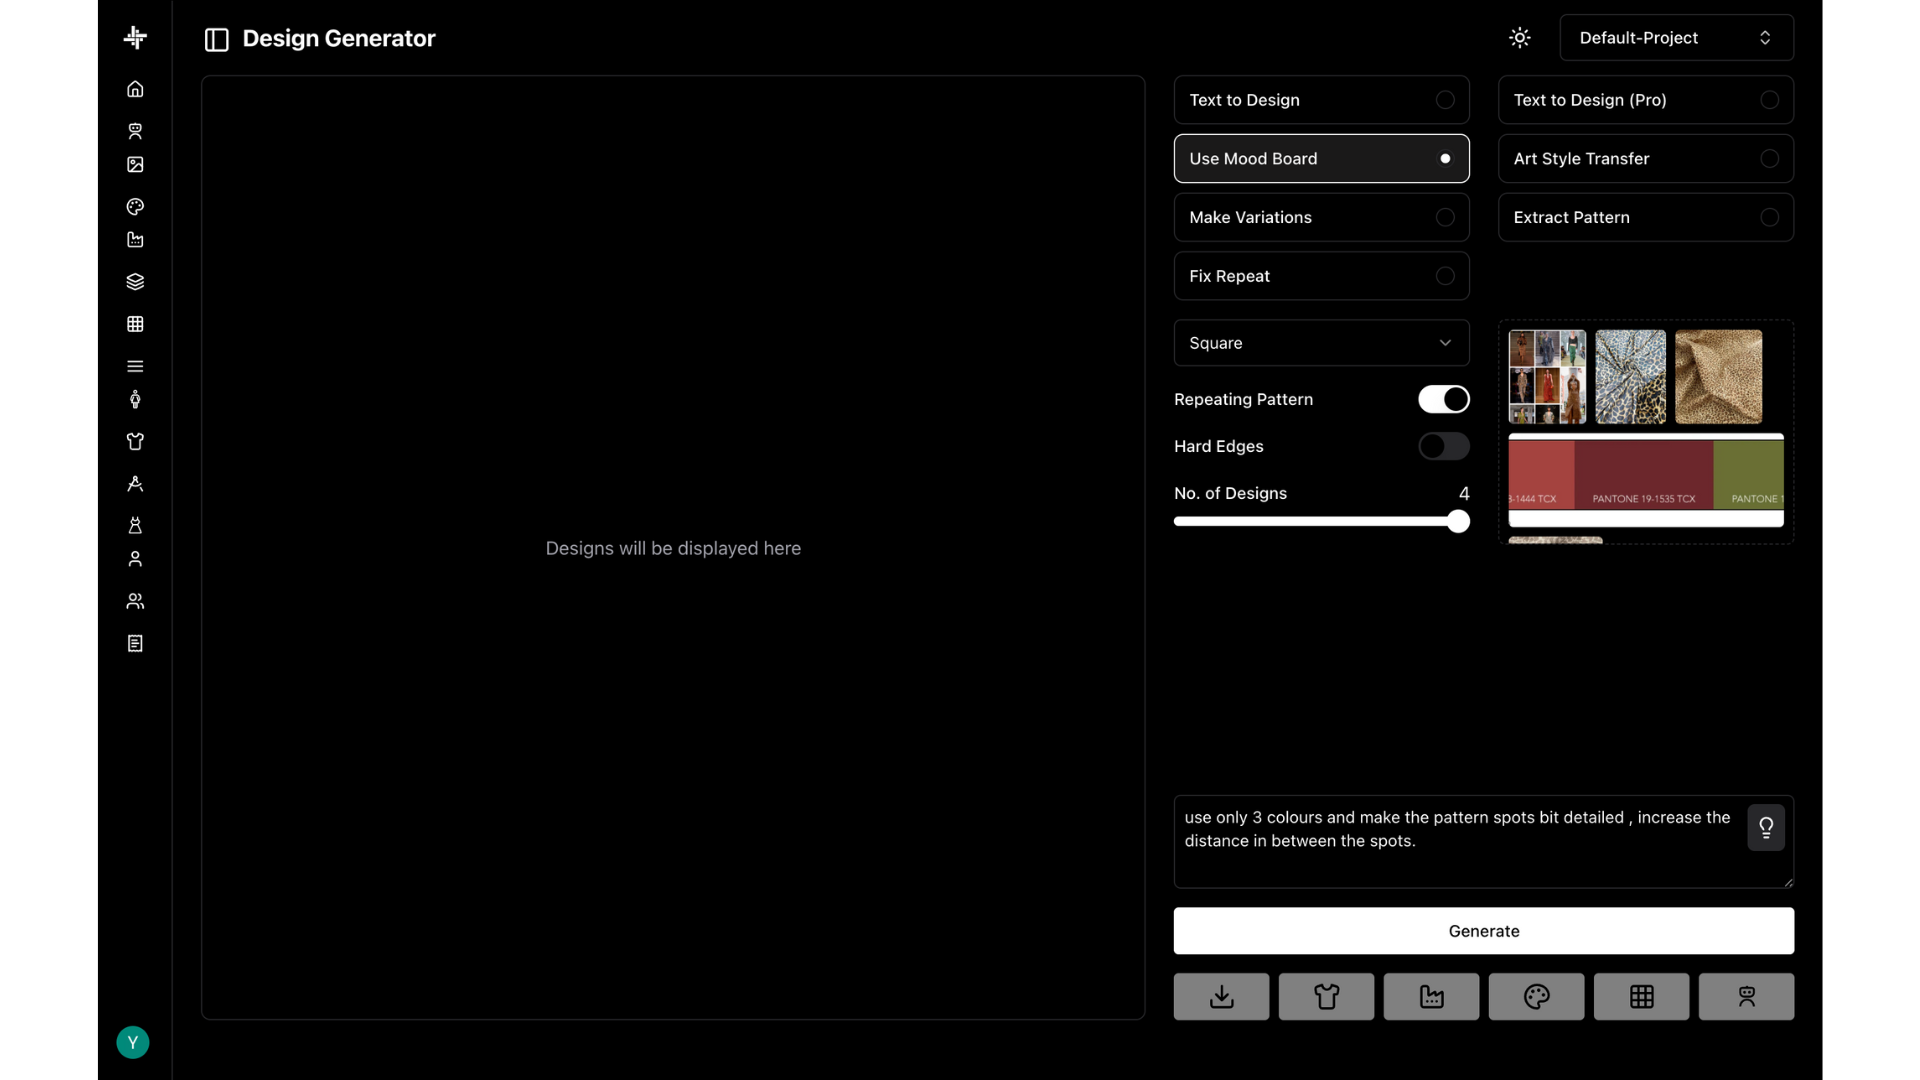
Prompted: "Use only 3 colors and make the pattern spots a bit more detailed. Increase the spacing between the spots by 0.25 cm."
Weaver generated four spot-on options (no pun intended). Clean, wearable, and totally in sync with what I had imagined.
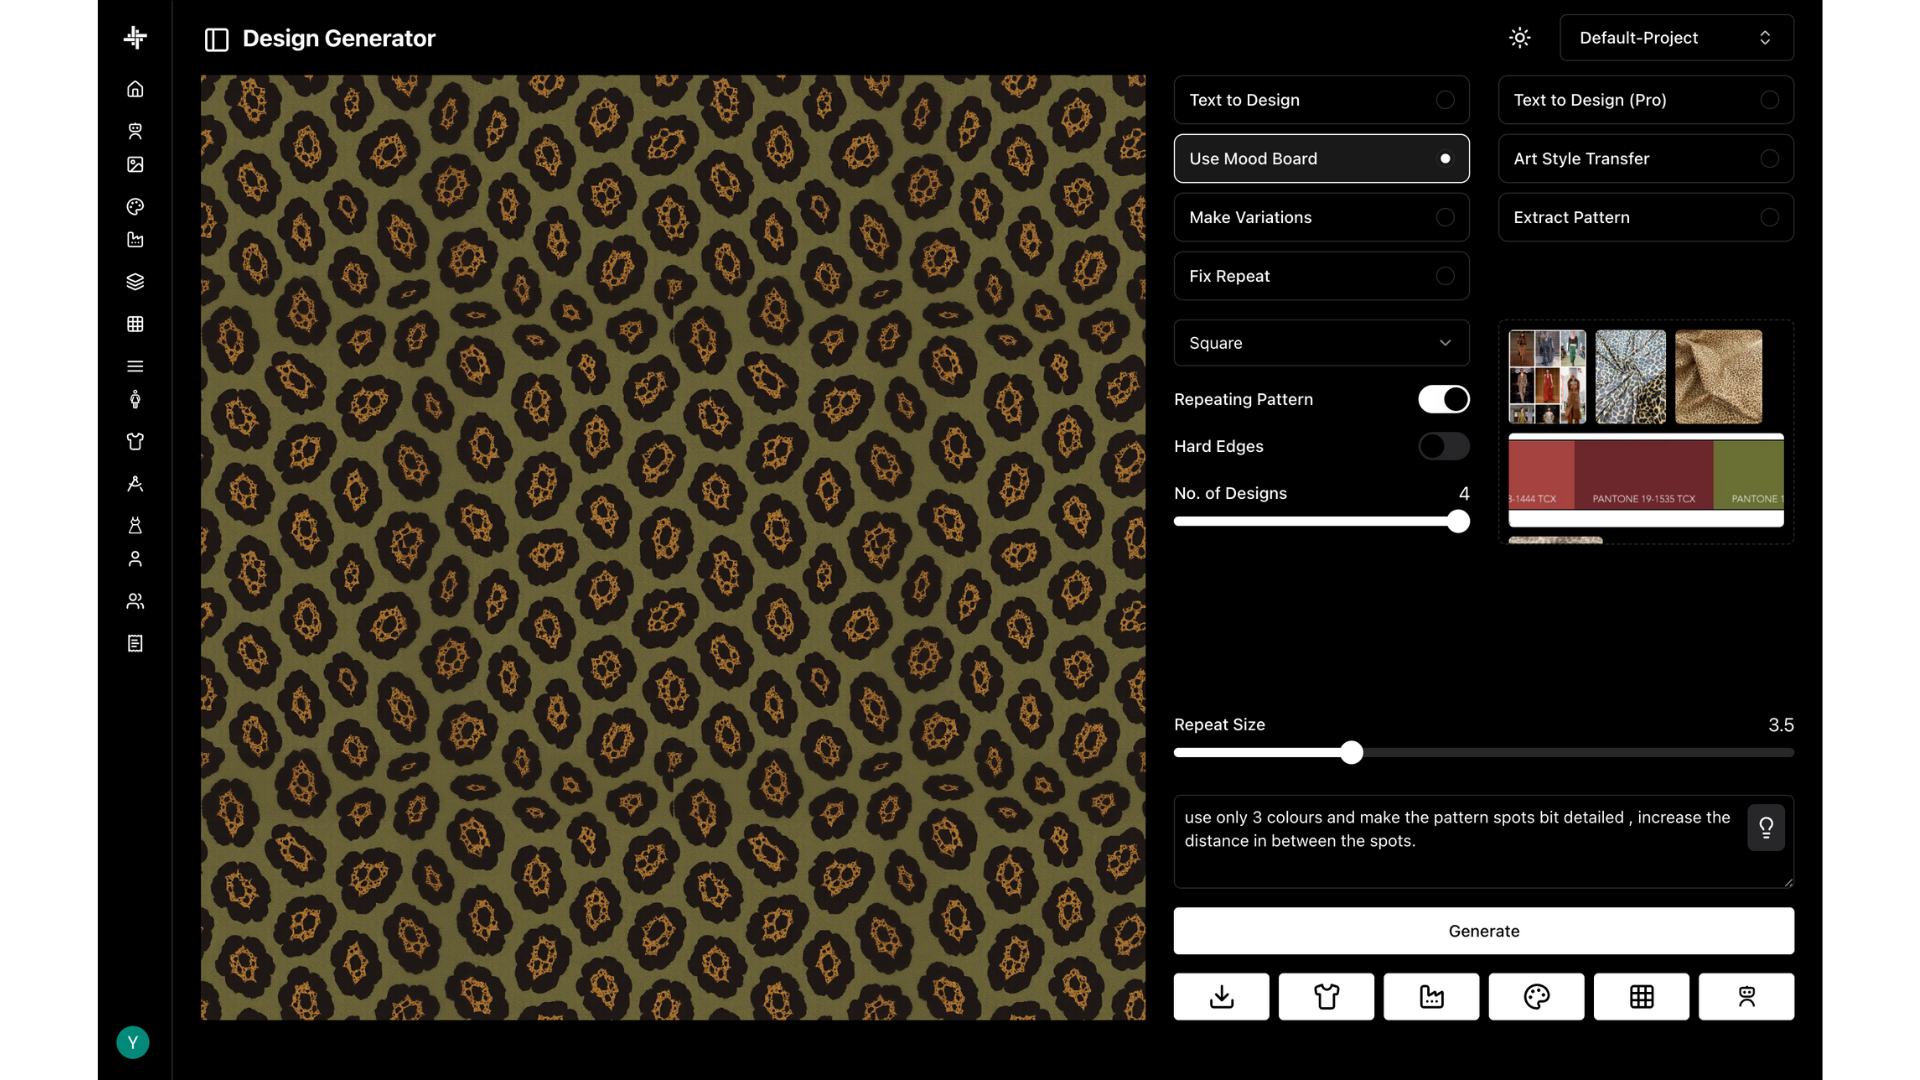
Step 2 — Repeat that Actually Works
After choosing the pattern, I explored repeat sizes directly inside Weaver. Used the live preview to scale up the design — landed on a repeat size that felt just right for georgette.
Step 3 — From Swatch to Silhouette
The forecast also outlined some key silhouettes — fluid halter dresses, especially in lightweight fabrics. I uploaded a flat sketch of the silhouette, selected georgette as the fabric, and applied the generated print.
Just like that — a wearable piece ready for the collection.
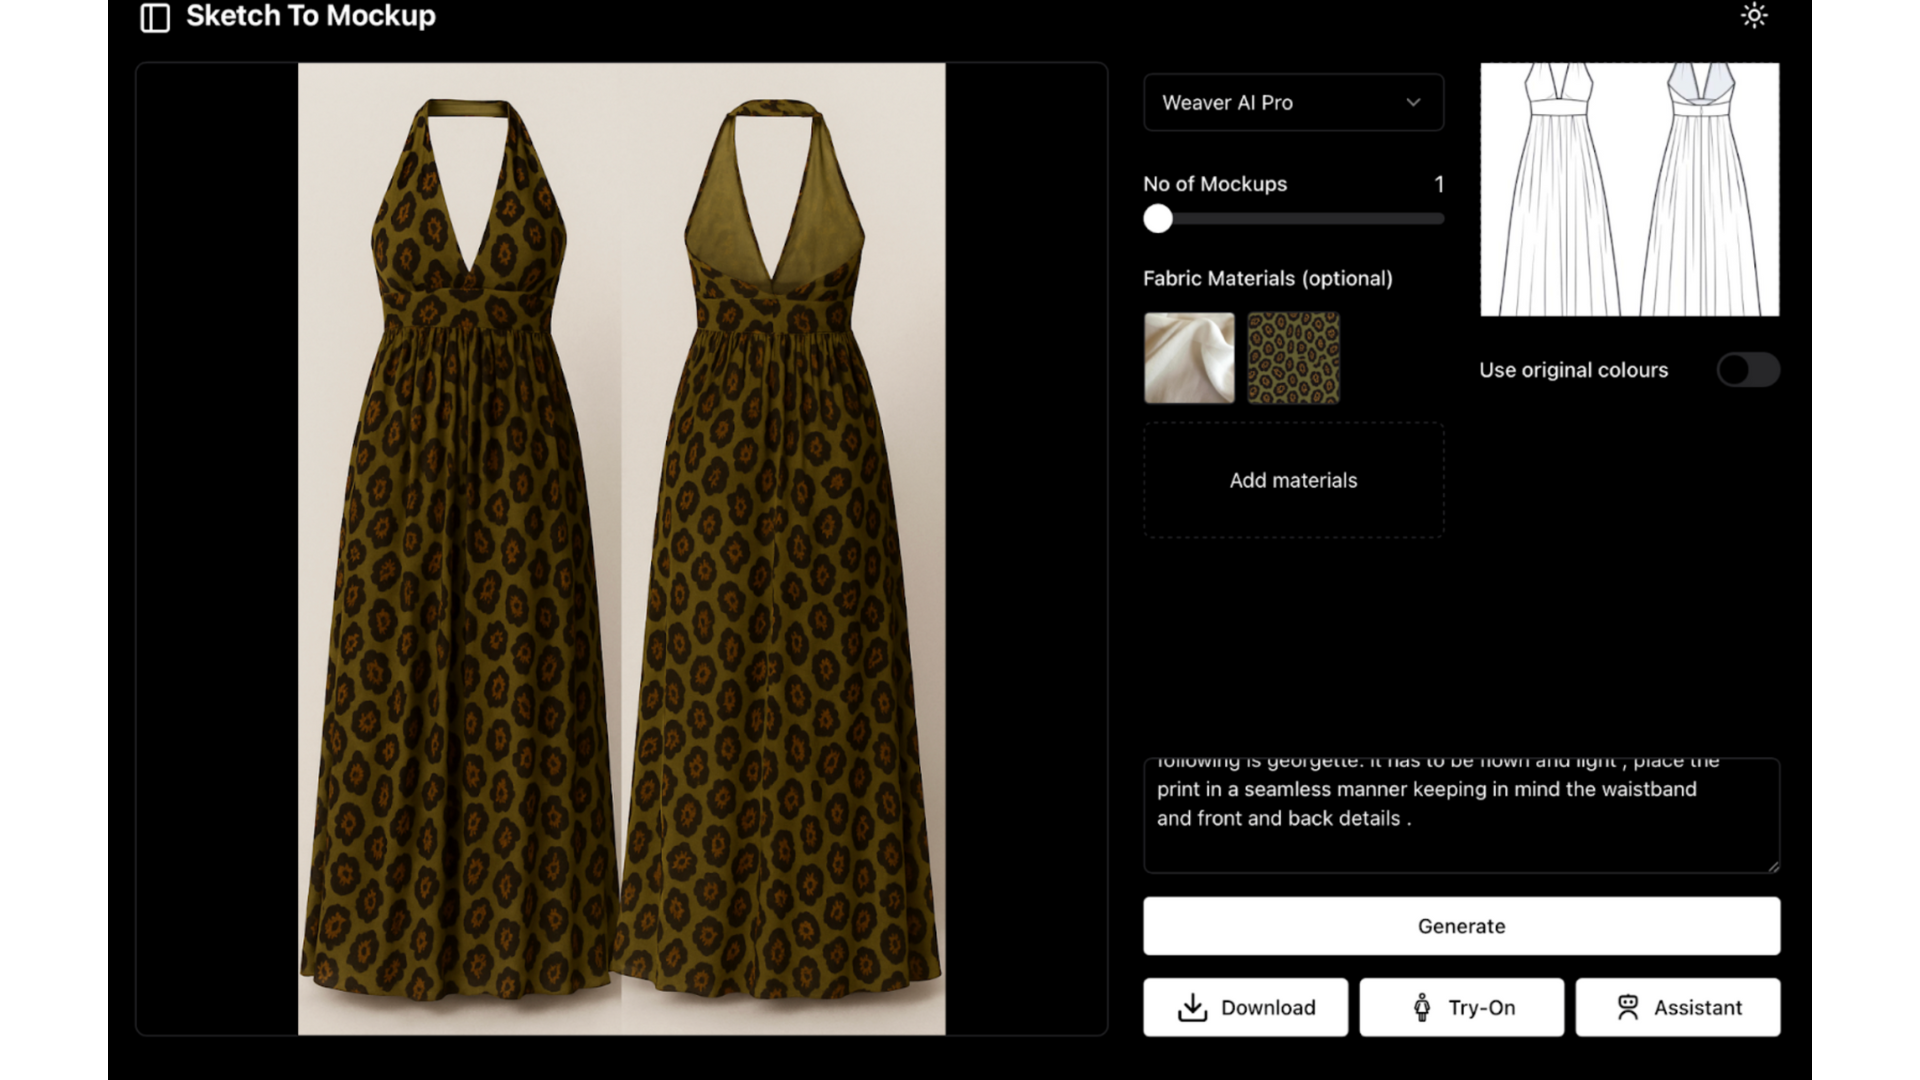
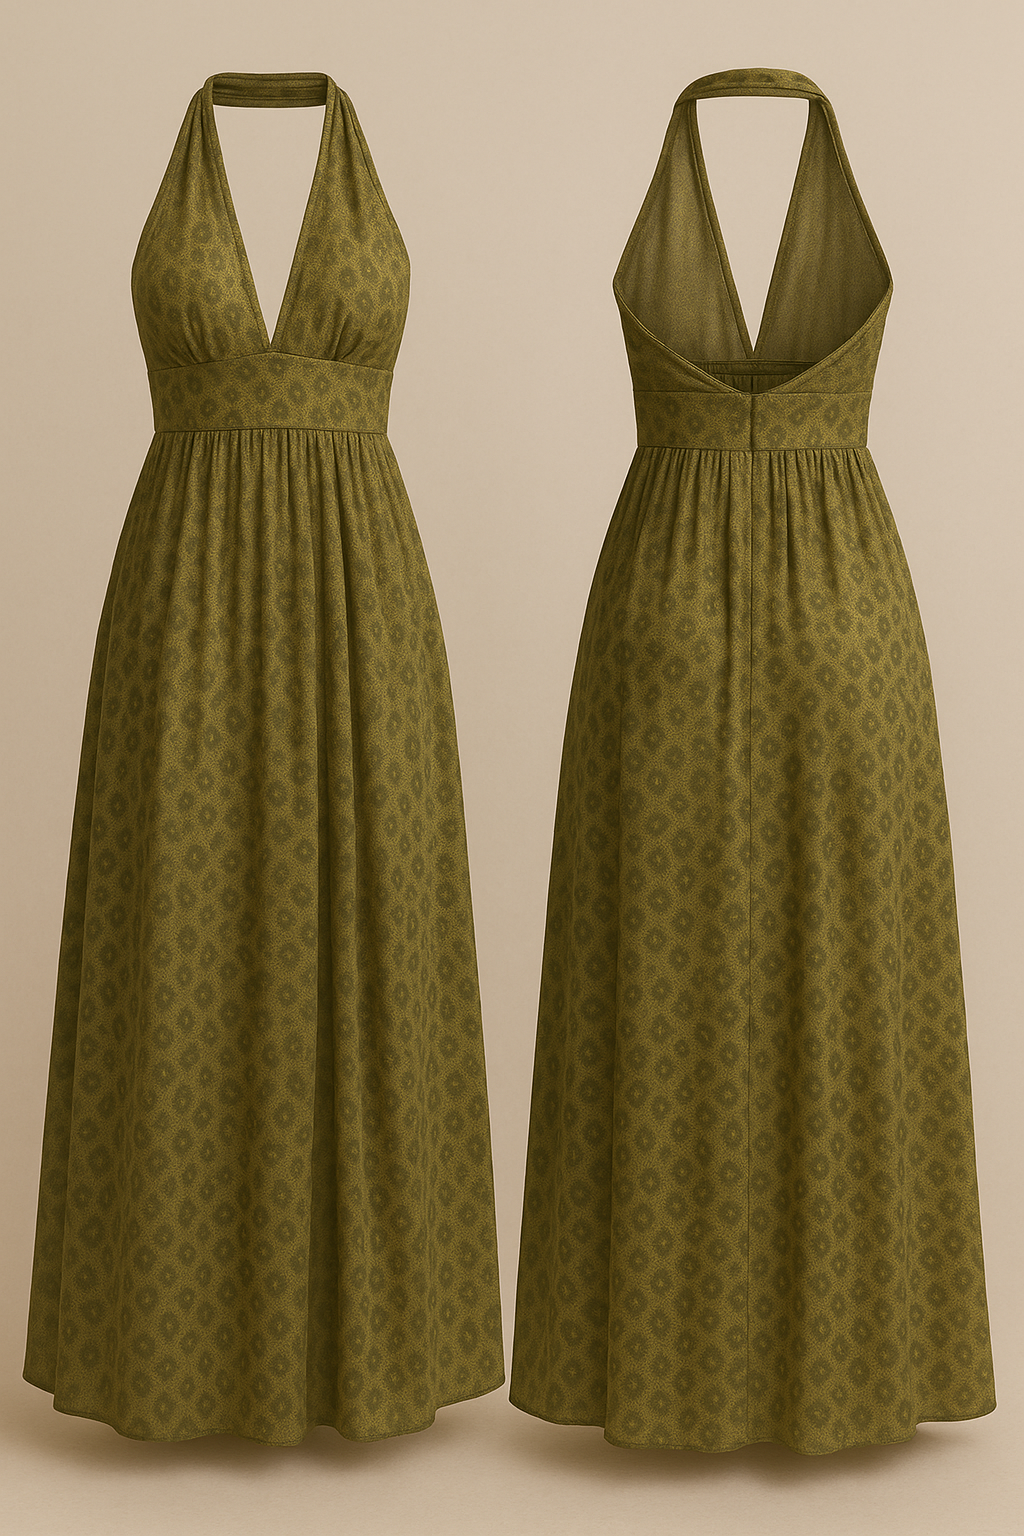
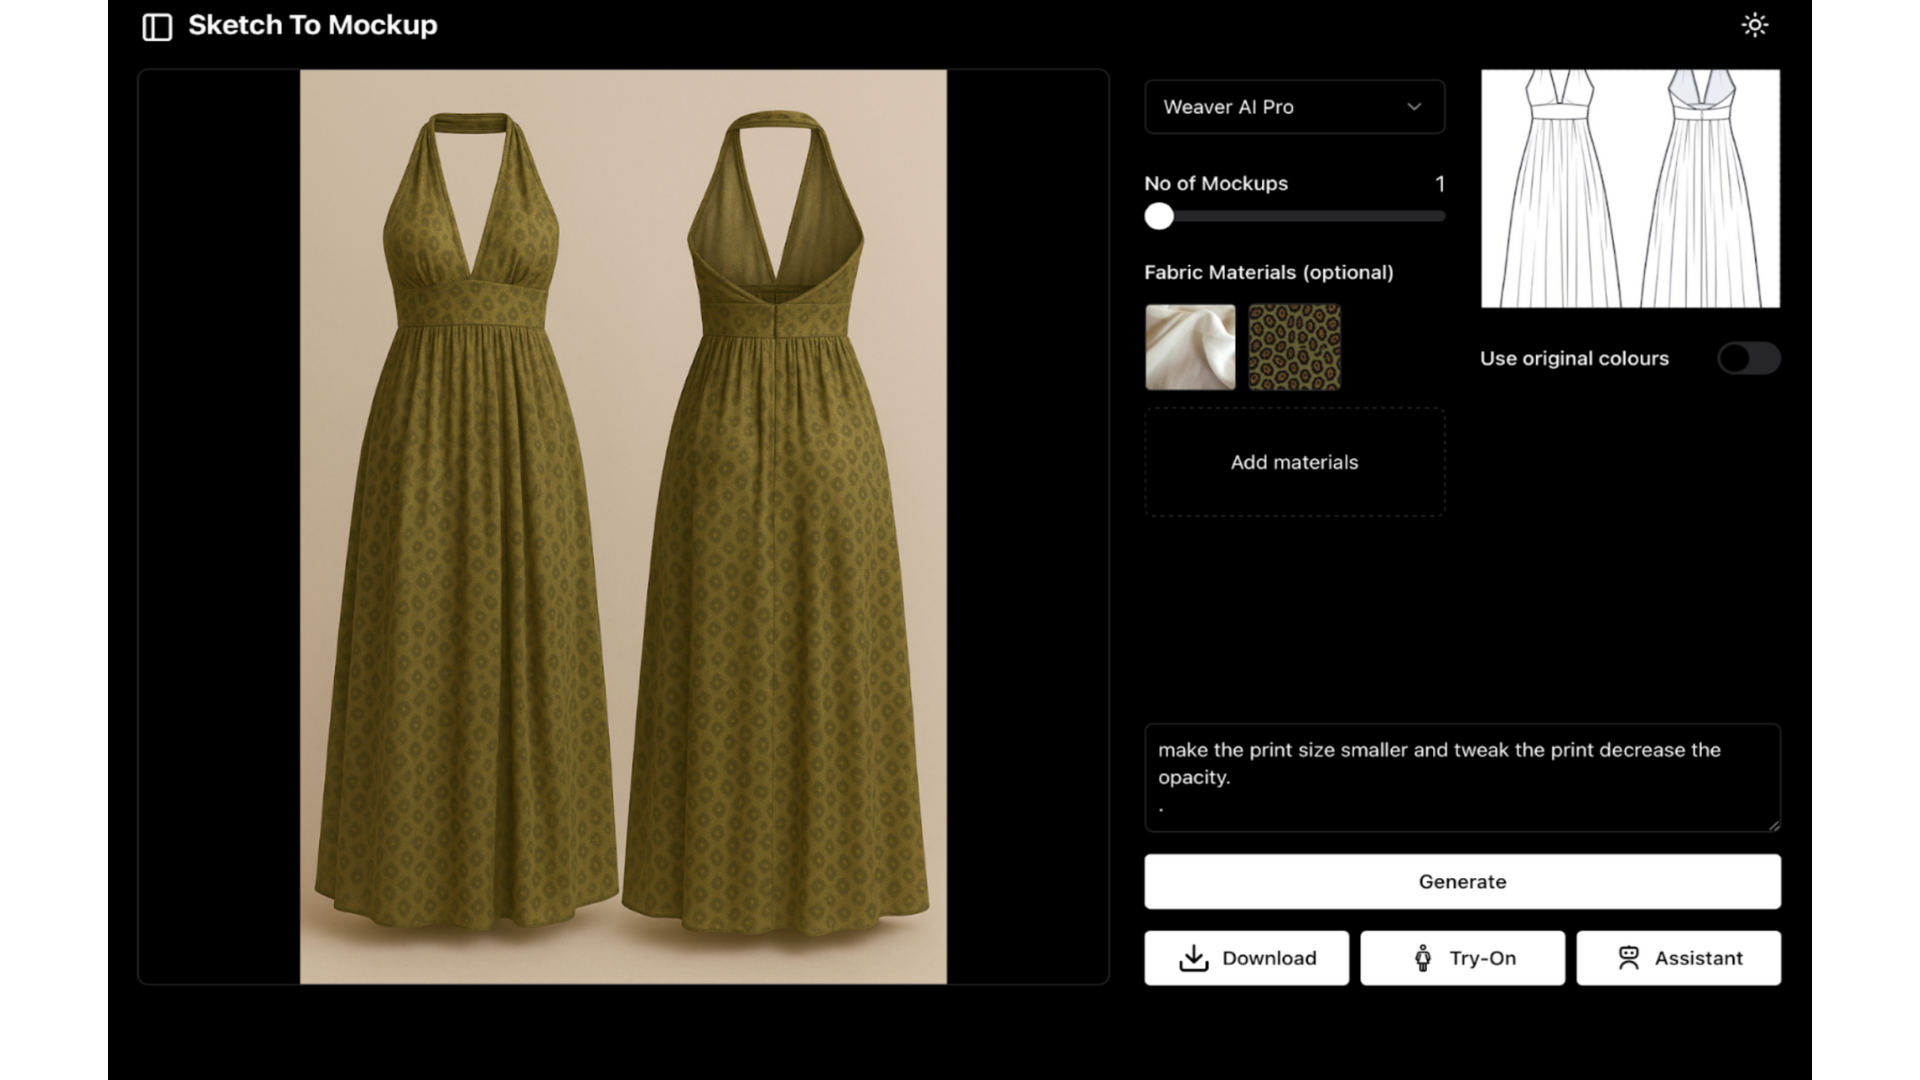
Step 4 — Tweaks that Matter
Once I saw the mockup, I asked for a smaller print size and reduced opacity for better drape and subtlety. Weaver adjusted instantly — no back and forth, no layering files.
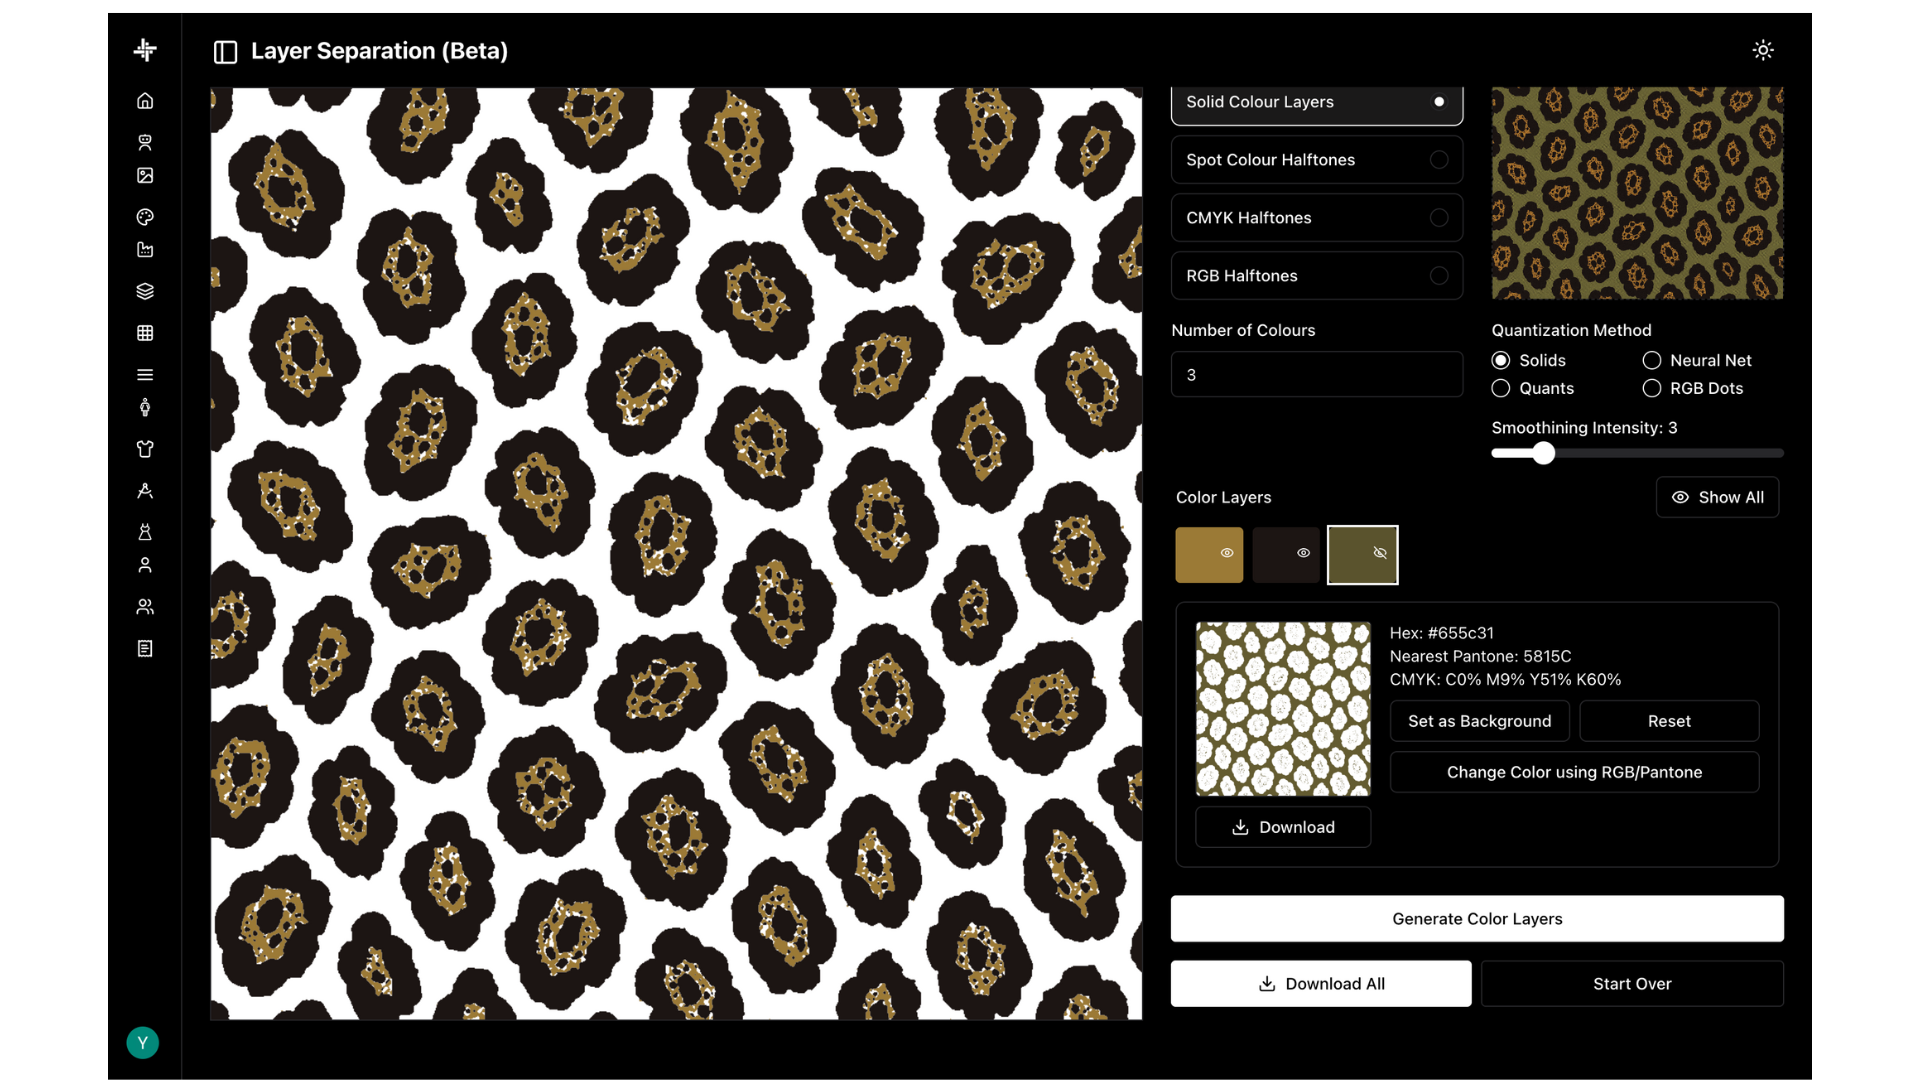
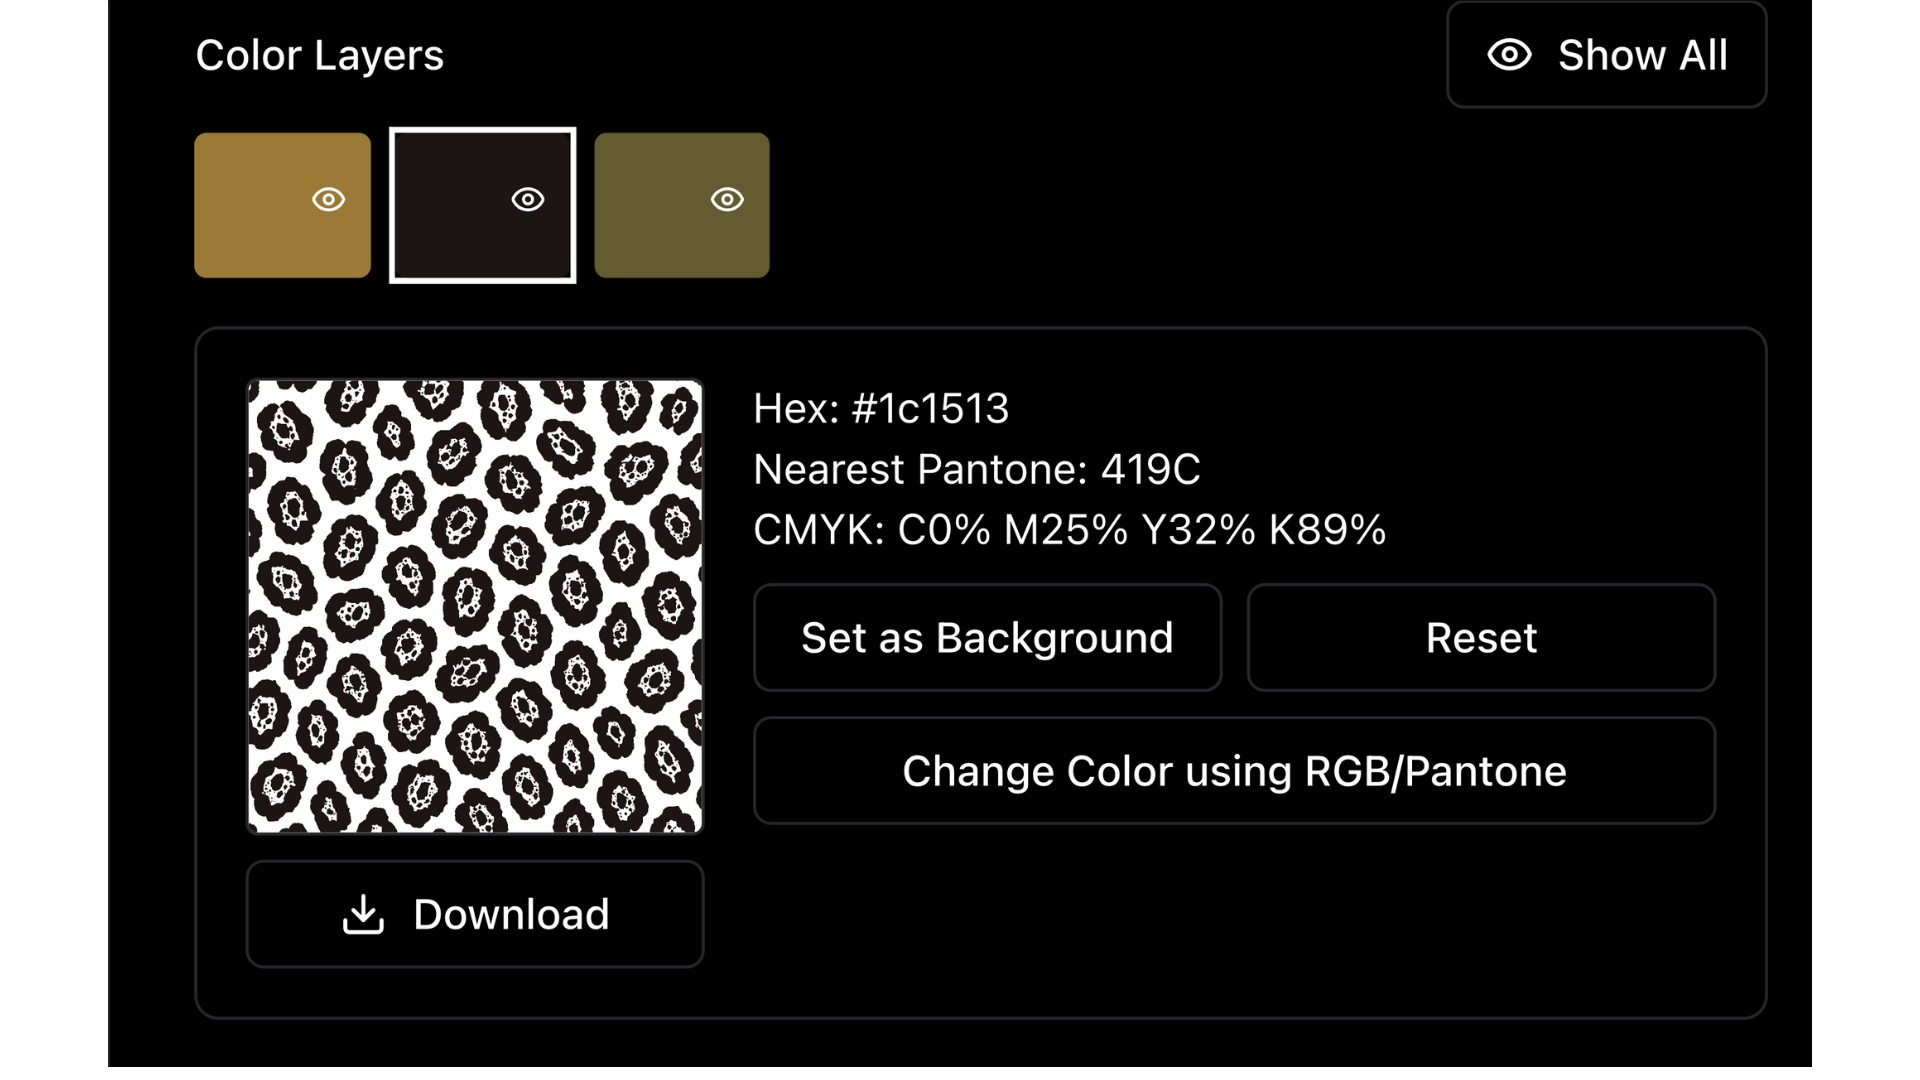
Step 5 — Export for Production
Finally, I exported the generated pattern in layers for printing and further editing — giving me full control over the production process while maintaining the design integrity.
 From trend forecast to finished mockup in one smooth loop. Weaver AI didn't just speed things up — it let me stay closer to the trend story, while playing with real design decisions in real time. Here I am starting my collection for SS26, focusing more on my design process and innovative design, and leaving the formation part to Weaver AI.